Why Choose At‑Home Teeth Whitening?
Many people prefer at‑home teeth whitening because it’s convenient, cost‑effective, and can be done on your own schedule. Modern over‑the‑counter (OTC) products have improved dramatically, offering results that rival professional treatments when used correctly.
Essential Supplies for a Successful DIY Whitening Routine
Before you begin, gather the following items:
- Whitening toothpaste – contains mild abrasives and low‑dose peroxide.
- Whitening strips or gels – typically 5‑10% carbamide peroxide.
- Customizable mouth trays – silicone trays that fit your teeth for even coverage.
- Baking soda and hydrogen peroxide mixture – a budget‑friendly alternative (use with caution).
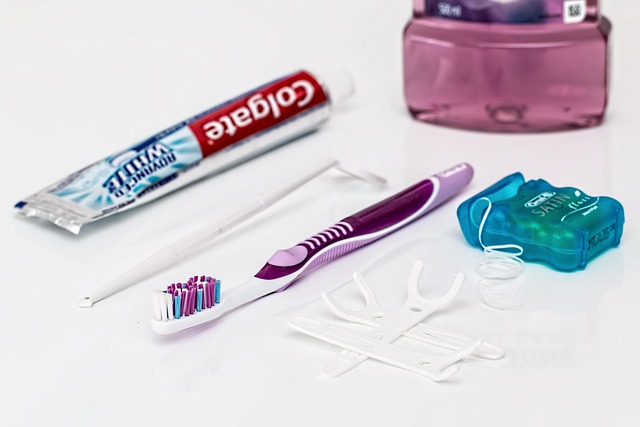
- Soft toothbrush and floss – for thorough cleaning before application.
Step‑by‑Step Guide to At‑Home Teeth Whitening
Step 1: Prepare Your Teeth
Start by brushing with a whitening toothpaste and flossing to remove plaque. A clean surface allows the whitening agent to work more effectively.
Step 2: Choose the Right Product
If you have sensitive teeth, opt for strips with a lower peroxide concentration (5%). For faster results, a 10% carbamide peroxide gel in a custom tray works well.
Step 3: Apply the Whitening Agent
Follow the product’s instructions precisely. For strips, place them on your teeth and press gently for a few seconds. For trays, fill the cavities with gel, insert the tray, and bite down to create a seal.
Step 4: Timing is Crucial
Typical usage ranges from 15‑30 minutes per session for strips, to 30‑60 minutes for trays. Do not exceed the recommended time to avoid gum irritation.
Step 5: Rinse and Care
After the allotted time, remove the product, rinse your mouth thoroughly, and brush gently with a non‑whitening toothpaste. This helps remove any residual peroxide.
Tips for Maximizing Results and Maintaining a Bright Smile
Consistency is key – use the chosen method regularly (usually once a day) for 7‑14 days. Avoid staining foods and drinks such as coffee, tea, red wine, and tobacco during the whitening period. Hydration and a balanced diet also support enamel health.
Potential Risks and How to Prevent Them
While at‑home whitening is generally safe, improper use can cause tooth sensitivity or gum irritation. To minimize these issues:
- Start with a low‑dose product and increase concentration gradually.
- Use a desensitizing toothpaste before and after treatment.
- Stop the treatment if you experience persistent pain and consult a dentist.
Conclusion
At‑home teeth whitening offers a practical way to achieve a brighter smile without the expense of a dental office. By selecting the appropriate product, following a disciplined routine, and caring for your oral health, you can enjoy noticeable results in just a few weeks. Remember, the best whitening plan is one that fits your lifestyle while keeping your teeth healthy and comfortable.
**
About Mia Smith
Practical knowledge enthusiast sharing everyday life hacks
Mia Smith has been contributing to eKnaw for over a year, focusing on practical solutions and life improvements through simple, actionable advice.



Join the Discussion
Comments (0)